How to Remove Background in Canva: A Comprehensive Guide
Removing the background from an image can significantly enhance its appeal and usability, especially for creating professional designs, presentations, and social media posts. Canva, a user-friendly design tool, provides an efficient feature to remove backgrounds with ease. In this guide, we’ll walk you through the steps to remove the background from an image in Canva, along with tips and tricks to make the most out of this feature.
Introduction to Canva’s Background Remover
Canva’s Background Remover tool is part of Canva Pro, offering a simple and effective way to isolate the subject of an image from its background. This feature is incredibly useful for creating clean visuals, and it saves you the hassle of using complex photo editing software.
Step-by-Step Guide to Removing Backgrounds in Canva
Step 1: Sign Up for Canva Pro
To access the Background Remover tool, you need to have a Canva Pro account. If you haven’t already, sign up for Canva Pro. Canva offers a 30-day free trial, allowing you to explore all the Pro features before committing.

Step 2: Upload Your Image
- Log in to your Canva account.
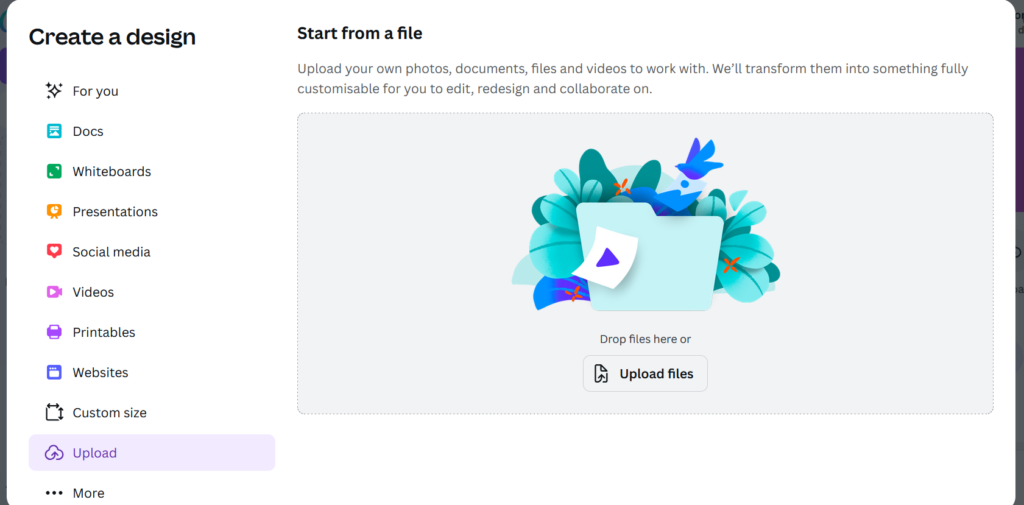
- Click on the “Create a design” button and select the type of design you want to create (e.g., Instagram Post, Presentation, etc.).
- In the editor, click on the “Uploads” tab on the left sidebar.
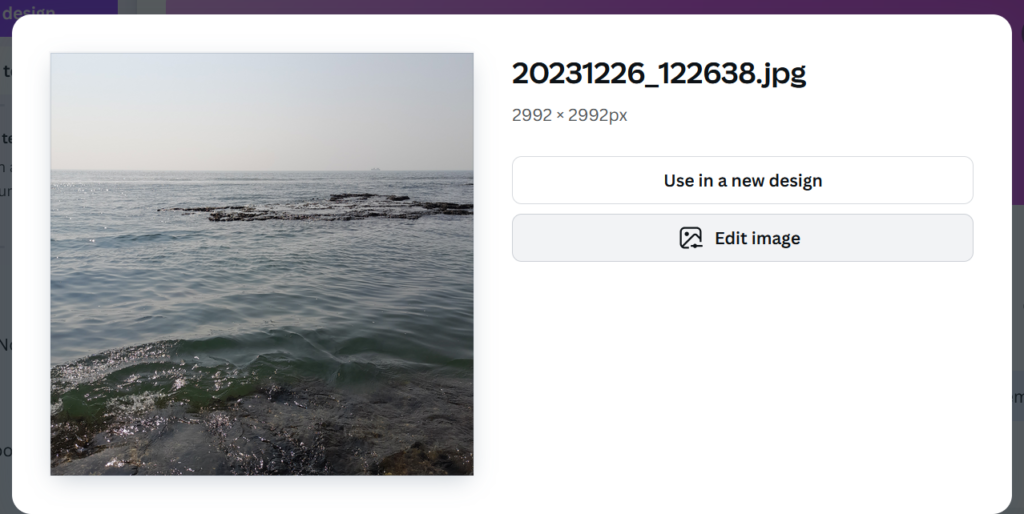
- Click “Upload media” and select the image you want to edit from your device.
Step 3: Add the Image to Your Design
- Drag and drop the uploaded image onto your design canvas.
- Adjust the size and position of the image as needed.

Step 4: Access the Background Remover Tool
- Click on the image to select it.
- In the top toolbar, click on the “Edit image” button.
- Under the “Edit image” options, you will find the “Background Remover” tool. Click on it to activate the tool.
Step 5: Remove the Background
- Canva will automatically process the image and remove the background. This usually takes a few seconds.
- Once the background is removed, you will see only the subject of the image on a transparent background.

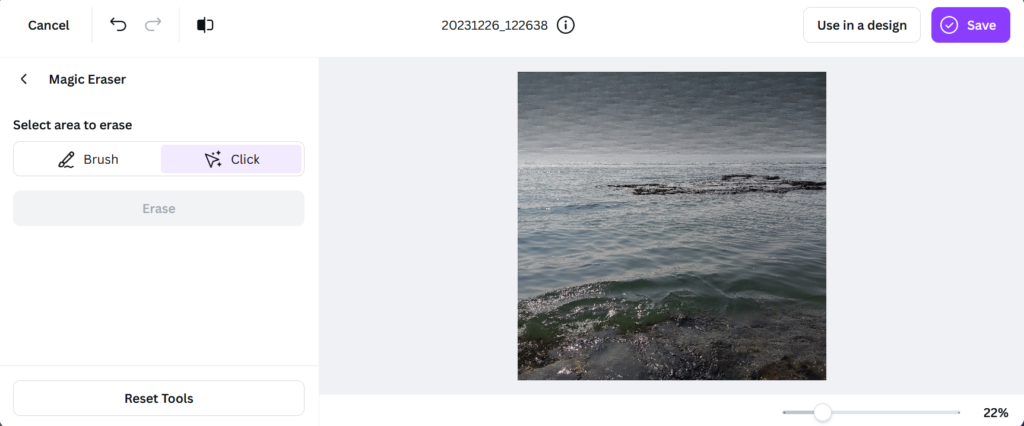
Step 6: Fine-Tune the Result
- If necessary, use the “Erase” and “Restore” brushes to refine the edges of the subject.
- The “Erase” brush allows you to remove any remaining background areas, while the “Restore” brush helps you bring back any parts of the subject that might have been accidentally removed.
- Adjust the brush size and softness as needed for precise editing.
Step 7: Save and Use Your Edited Image
- Once you are satisfied with the background removal, click “Done” to apply the changes.
- You can now use the edited image in your design. Add text, graphics, and other elements to complete your design.
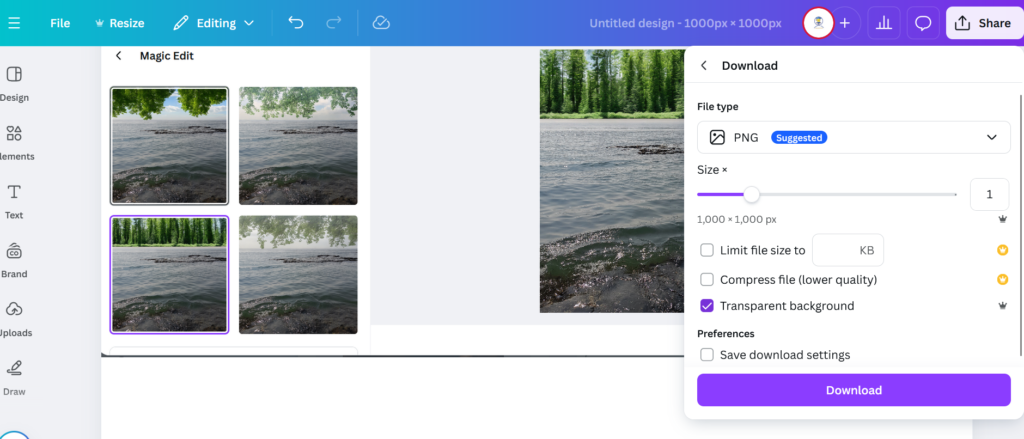
- To download the image with a transparent background, click on the “Download” button in the top right corner.
- Select “PNG” as the file format and make sure to check the “Transparent background” option before downloading.
Tips and Tricks for Effective Background Removal
1. Choose High-Quality Images
High-quality images with clear subjects and contrasting backgrounds yield the best results. Avoid blurry or low-resolution images, as they can make the background removal process less effective.
2. Simplify Complex Backgrounds
If your image has a very complex background, try to simplify it as much as possible before using the Background Remover tool. This might involve cropping the image or using basic photo editing to reduce clutter.
3. Use the Erase and Restore Brushes Carefully
The Erase and Restore brushes are powerful tools for fine-tuning your image. Use them with precision to ensure that the edges of your subject are clean and natural-looking. Zoom in on the image if necessary to make detailed adjustments.
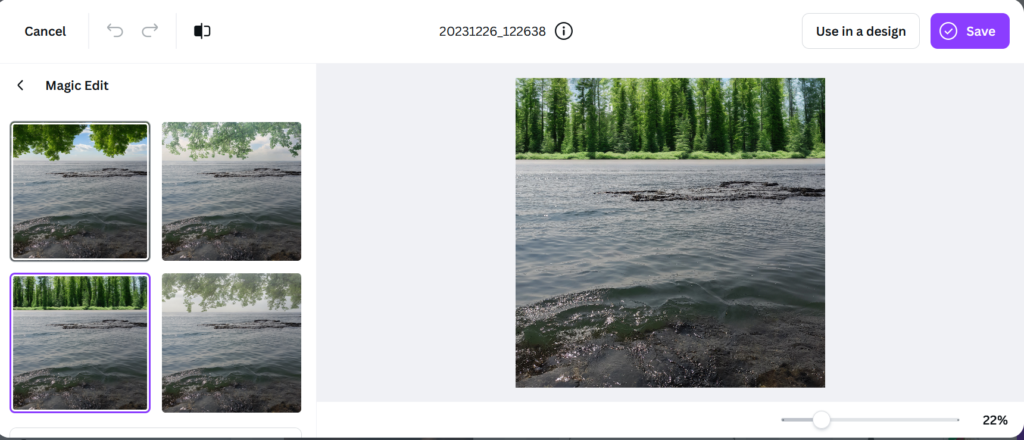
4. Experiment with Different Designs
Don’t hesitate to experiment with different designs once you’ve removed the background. Canva offers a vast library of templates, elements, and fonts to enhance your creation. Play around with these options to achieve the desired look for your project.
5. Keep a Copy of the Original Image
Always keep a copy of the original image before making any edits. This allows you to start fresh if needed and preserves the integrity of the original file.
6. Leverage Canva’s Design Elements
After removing the background, you can take advantage of Canva’s extensive collection of design elements. Add shapes, icons, illustrations, and more to complement your edited image and create a cohesive design.
7. Practice and Patience
Background removal can be tricky, especially with images that have intricate details. Practice using the tool on different images and be patient with the process. Over time, you’ll become more proficient and efficient at achieving professional results.
Conclusion
Removing backgrounds in Canva is a straightforward process that can significantly enhance your designs. With Canva Pro’s Background Remover tool, you can create clean and professional-looking images for various purposes. Follow the steps outlined in this guide, and use the tips and tricks to refine your skills. Whether you’re designing social media posts, presentations, or marketing materials, mastering the art of background removal will elevate your creative projects.
If you haven’t tried Canva Pro yet, take advantage of the free trial and explore the many features it offers.


1 Response
[…] 2. Remove.bg: Instant Background Magic for Clean Edits […]