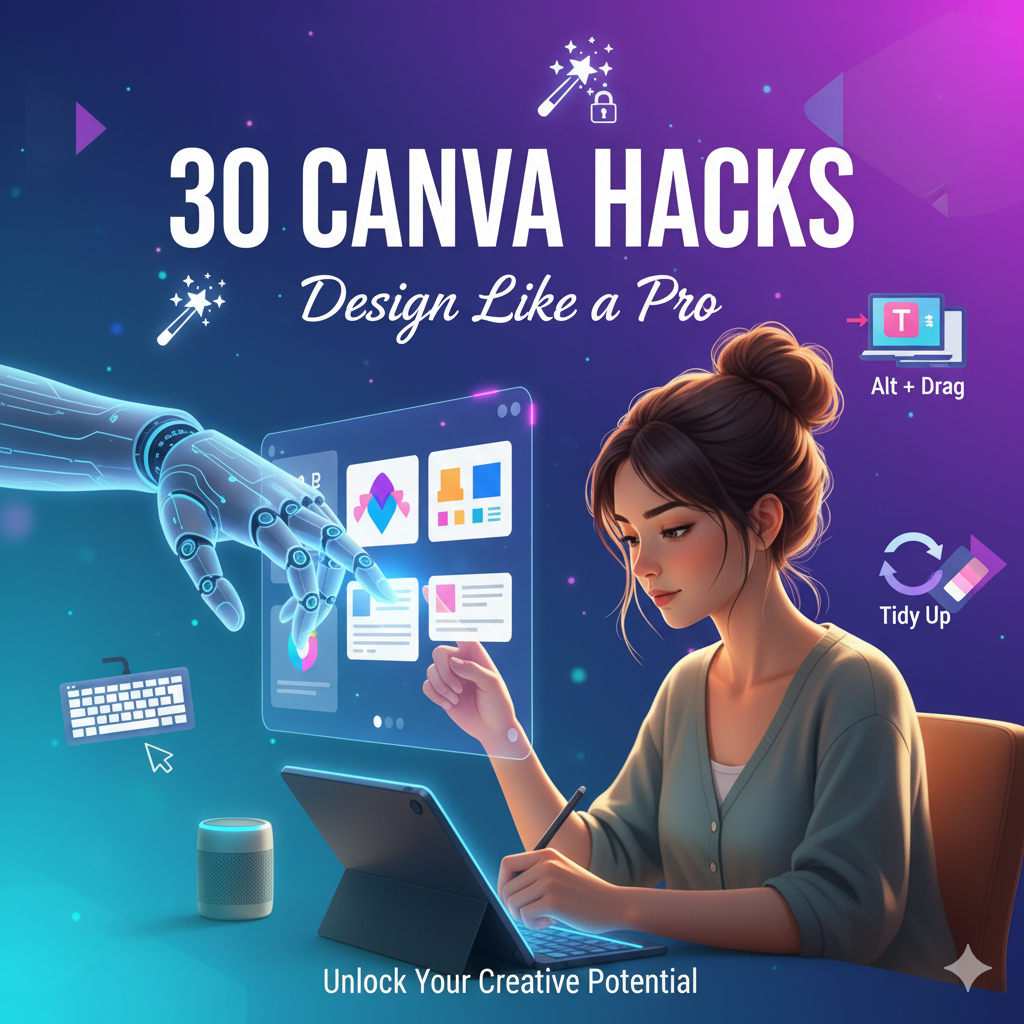
30 Canva Hacks You’ll Wish You Knew Sooner (Design Like a Pro)
In today’s visually-driven world, compelling graphics aren’t just a luxury – they’re a necessity. Whether you’re a blogger, a small business owner, a social media manager, or just someone who loves to create, the ability to produce stunning visuals can make all the difference. For many, Canva has become the go-to platform, democratizing design and putting powerful tools into the hands of millions.
But here’s a secret: while Canva is incredibly intuitive, there’s a world of hidden features, clever shortcuts, and advanced techniques that can transform your designs from good to absolutely gorgeous. If you’ve ever found yourself wishing your Canva creations had that extra professional polish, or if you spend too much time wrestling with elements, then you’ve come to the right place. Get ready to unlock a new level of design prowess with these 30 Canva hacks you’ll wish you knew sooner!
Beyond the Basics: Essential Canva Shortcuts & Productivity Boosters
Let’s kick things off with some fundamental shortcuts and features that will drastically speed up your design process. Time is money, and these hacks will save you plenty of both.
- Duplicate with Alt/Option + Drag: Instead of copy-pasting, hold
Alt(Windows) orOption(Mac) and drag an element. It creates an instant duplicate! - Quick Group/Ungroup (Ctrl/Cmd + G / Shift + Ctrl/Cmd + G): Select multiple elements and hit
Ctrl/Cmd + Gto group them. Ungroup withShift + Ctrl/Cmd + G. Essential for moving complex designs. - Position with Arrow Keys: For fine-tuned adjustments, select an element and use your arrow keys to nudge it pixel by pixel.
- Instant Text Box (T): Just hit the
Tkey on your keyboard, and a new text box will appear, ready for your input. - Add a Rectangle (R) or Line (L): Similar to text,
Rgives you a rectangle, andLgives you a line. Perfect for quick shapes and dividers. - The “Magic Resize” (Canva Pro): This feature is a game-changer! Design once, and then instantly resize your creation for various platforms (e.g., Instagram Story to Facebook Post to Pinterest Pin) with just a few clicks. Find it under “Resize” in the top menu.
- Template Your Brand Kit (Canva Pro): If you’re constantly using specific fonts, colors, and logos, set up your Brand Kit. Then, create custom templates using these elements. It’ll save you hours!
- Search with Keywords & Filters: Don’t just type “flower.” Try “flower vector,” “flower aesthetic,” “flower transparent,” or filter by color and orientation to find exactly what you need.
- Star Your Favorites: Find an element, photo, or graphic you love and want to use again? Click the three dots on it and select “Star.” You can find all your starred items in your “Stars” folder.
Advanced Design Techniques for a Polished Look
Now, let’s dive into some techniques that will give your designs that professional edge, making them stand out from the crowd.
- Layering with Transparency: To create depth, duplicate an element, change its color slightly, and reduce its transparency. Place it strategically behind the original. This works great for text shadows or subtle background patterns.
- Text Masking with Frames: Upload an image, then drag it into a letter frame. This creates stunning text-masked effects. Search “frames” in elements and then select letter frames.
- Gradients Galore: Canva has a vast library of gradient elements. Search for “gradient” in the elements tab, or use gradient backgrounds to add visual interest.
- Curved Text (Effects Tab): Gone are the days of struggling with circular text! Select your text, go to “Effects,” and choose “Curve.” Adjust the curvature with the slider.
- Duotone Effects (Canva Pro Photos): Select a photo, go to “Edit Photo,” and under “Effects,” choose “Duotone.” Experiment with different color combinations to create striking visuals.
- Background Remover (Canva Pro): The holy grail for clean designs! Select an image, click “Edit Photo,” and then “BG Remover.” Instant transparency!
- Frames for Mockups: Use picture frames (search “frames” in elements) to easily drop in your screenshots or designs, creating quick mockups for phones, laptops, and more.
- Smart Mockups (Canva Pro): Even better than basic frames! Select an image, go to “Edit Photo,” and choose “Smartmockups.” Place your design on t-shirts, mugs, devices, etc., with realistic perspective.
- The “Shadow” Effect for Depth: Select an element, go to “Effects,” and choose “Shadows.” This adds subtle depth and makes elements pop.
- Keyboard Shortcuts for Alignment: Select multiple items, go to “Position,” and use the “Align” options. But did you know you can also use
Shift + Clickto select multiple items, then useAlt/Option+ arrow keys to distribute evenly? - Lock Elements (Padlock Icon): Tired of accidentally moving your background or a perfectly placed element? Select it and click the padlock icon in the top right.
- Access Previous Versions (File -> Version History – Canva Pro): Made a mistake or want to revert to an earlier design? Canva Pro allows you to access and restore previous versions of your design.
- Use “Tidy Up” for Even Spacing: Select multiple elements, go to “Position,” and then click “Tidy Up” to evenly space them horizontally or vertically.
- The Power of “Copy Style”: Select an element with the style you like (e.g., font, color, effects), click the roller brush icon in the top menu, then click the element you want to apply that style to.
- Search for Specific Brand Colors: Know a brand’s hex code? Enter it directly in the color picker to ensure perfect brand consistency.
- Add Hyperlinks to Elements/Text: Great for PDFs or interactive presentations. Select the element or text, click the chain-link icon in the top menu, and paste your URL.
- Group Elements for Animation (Canva Pro): Want to animate multiple elements together? Group them first, then apply an animation effect to the group.
- “Set Image as Background”: Right-click on an image and select “Set Image as Background” to automatically stretch it to fit the entire canvas.
- Collaborate in Real-Time: Share your design with team members or clients and allow them to edit or comment directly on the design. Find the “Share” button in the top right.
- Embed Fonts from Your Brand Kit (Canva Pro): If you use custom fonts, Canva Pro allows you to upload them to your Brand Kit, ensuring your unique typography is always available.
- Explore Keyboard Shortcuts (Click the “?” icon): Canva has a comprehensive list of all keyboard shortcuts. Click the question mark icon in the bottom right corner of the editor to explore them all!
Elevate Your Blog’s Visuals Today!
These Canva hacks are more than just tricks; they’re pathways to more efficient, professional, and visually stunning designs. By integrating these tips into your workflow, you’ll not only save time but also elevate the quality of your blog graphics, social media posts, presentations, and any other visual content you create.
Remember, consistent, high-quality visuals are key to building trust, enhancing readability, and driving traffic to your blog. Don’t underestimate the power of a well-designed image to capture attention and communicate your message effectively.
Ready to put these hacks into action? Open up Canva and start experimenting! Share your favorite new hack in the comments below!
External Links (Tools/Resources):
- Canva Official Website: https://www.canva.com/
- Canva Design School: https://www.canva.com/designschool/
- Color Hunt (for color inspiration): https://colorhunt.co/