How to Design Blog Graphics in Canva That Explode Engagement (The 2026 Guide)
Introduction
Did you know that human beings process visual data 60,000 times faster than text?
In the fast-paced world of 2026, a wall of text is the fastest way to kill your bounce rate. Your readers are busy. They are skimming, scrolling, and looking for visual “hooks” that tell them they are in the right place. If your blog post looks boring, they click away. But if it looks polished, professional, and visually engaging, they stay, read, and subscribe.
But here is the problem most new bloggers face: “I’m a writer, not a graphic designer.”
Years ago, you might have needed expensive software like Photoshop and a degree in design theory to create decent blog visuals. Today? You just need Canva.
In this ultimate guide, I’m going to show you exactly how to use Canva to design blog graphics that look expensive but cost you nothing but a few minutes of your time. We will cover everything from basic design principles and step-by-step tutorials to advanced SEO strategies that get your images ranking on Google.
Ready to turn your blog into a visual masterpiece? Let’s dive in.
Why Blog Graphics Are Non-Negotiable for Growth
Before we open the Canva dashboard, it is crucial to understand why we are investing time in this. It’s not just about aesthetics; it’s about performance. High-quality graphics perform three heavy-lifting jobs for your online business:
1. Lower Bounce Rate & Higher Time-on-Page
Text fatigue is real. A study by Nielsen Norman Group found that users read only about 20% of the text on an average web page. Images act as “speed bumps” for the eyes. They break up long paragraphs, give the reader a mental break, and encourage them to keep scrolling down the page. The longer they stay, the more Google trusts your content.
2. The Power of Visual SEO
Most bloggers ignore Google Images, and that is a huge mistake. Optimizing your blog graphics with the right file names and alt text can drive a significant amount of “passive” traffic to your site. When someone searches for a visual concept (like “infographic on SEO” or “Canva template examples”), your image can be the gateway to your website.
3. Virality and Social Shares
People rarely share a paragraph of text on Facebook or Pinterest. They share images. A well-designed Pinterest pin or a punchy quote graphic can go viral, bringing thousands of new visitors to your site from social media platforms. Your graphics are your blog’s ambassadors on social media.
Design Theory 101: Rules for Non-Designers
You don’t need to go to art school, but you do need to follow a few “golden rules” to ensure your graphics look professional rather than amateur.
The Rule of Contrast
Contrast is what makes your text readable.
- Do: Use dark text on a light background (or vice versa).
- Don’t: Put neon pink text on a red background. It hurts the eyes.
- Pro Tip: If your background photo is too busy, overlay a black or white square element and lower the transparency to 50% before adding your text on top.
Hierarchy Matters
Not all text is created equal. Your viewer should know exactly what to read first.
- Headline: Big, bold, and dominant.
- Sub-headline: Smaller, lighter weight.
- URL/Brand Name: Tiny and tucked away at the bottom.
White Space is Your Friend
Beginners often try to fill every empty corner of the canvas. Don’t do this. “White space” (or negative space) allows your design to breathe. It makes your content look elegant and expensive. If in doubt, remove an element rather than adding one.
Step-by-Step: How to Design Your First Blog Graphic
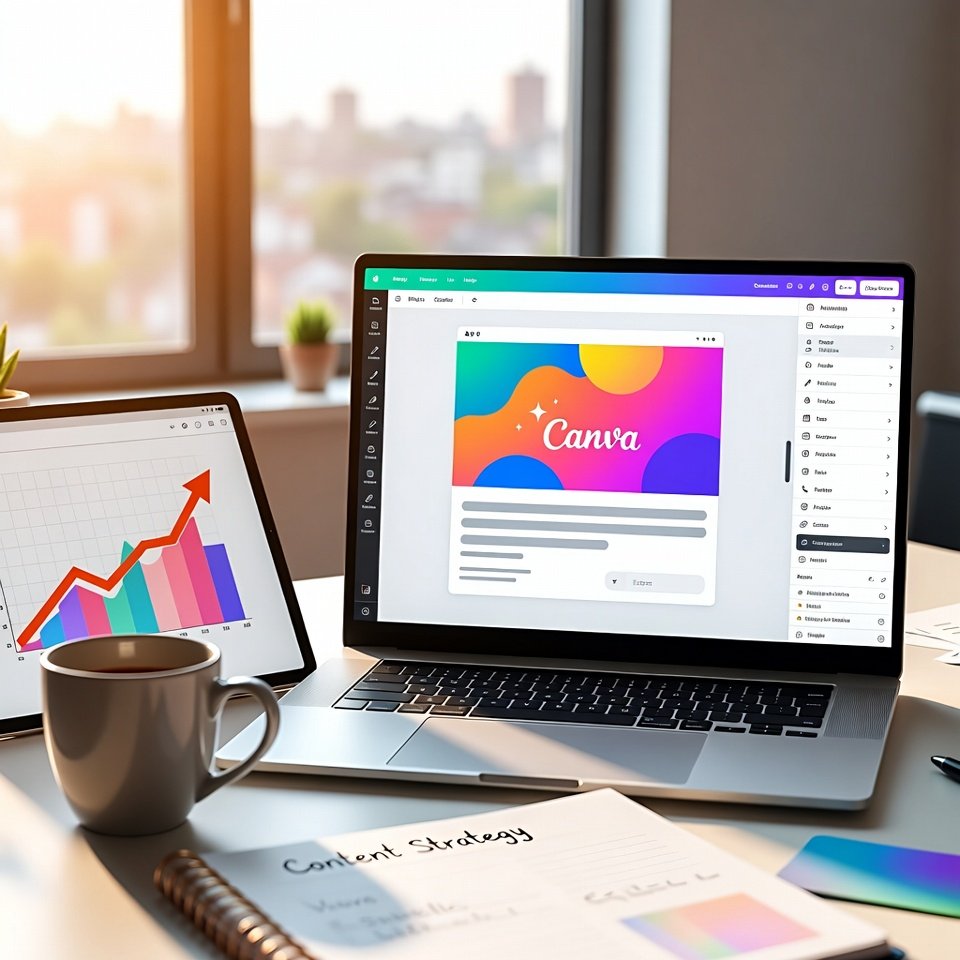
Let’s get practical. Open up Canva.com and follow along.
Step 1: Choose the Right Dimensions
One size does not fit all. Using the wrong size can result in pixelated or cropped images. Here are the standard dimensions for 2026:
- Blog Featured Image: 1200 x 630 px (This is the standard “Open Graph” size that looks great when shared on Facebook, LinkedIn, and X).
- Pinterest Pin: 1000 x 1500 px (Vertical images dominate Pinterest feeds).
- In-Content Infographic: 800 x 2000 px (Long, scrollable images are great for tutorials).
Action: click “Create a Design” in the top right corner and search for “Blog Banner.”
Step 2: Start with a Template (Don’t Reinvent the Wheel)
Canva has thousands of free templates designed by pros. As a beginner, your best strategy is to modify, not create from scratch.
- On the left sidebar, click the Design tab.
- Type in keywords that match your niche (e.g., “Minimalist Blog,” “Tech Review,” “Yoga Header”).
- Drag and drop a style you like onto your canvas.
Why this works: The template already has the fonts paired correctly and the margins set. You just need to swap the content.
Step 3: Brand It (Consistency is Key)
You want a reader to land on your post and immediately recognize the style as yours. Whether you run Inspire and Ink or a travel blog, consistency builds trust.
- Colors: Stick to 2-3 specific colors (Hex codes). If you don’t have a palette, choose one primary color (like a deep blue) and one accent color (like gold).
- Fonts: Use a maximum of two fonts. A bold “Display” font for titles (like League Spartan or Playfair Display) and a clean “Sans-Serif” font for body text (like Open Sans or Montserrat).
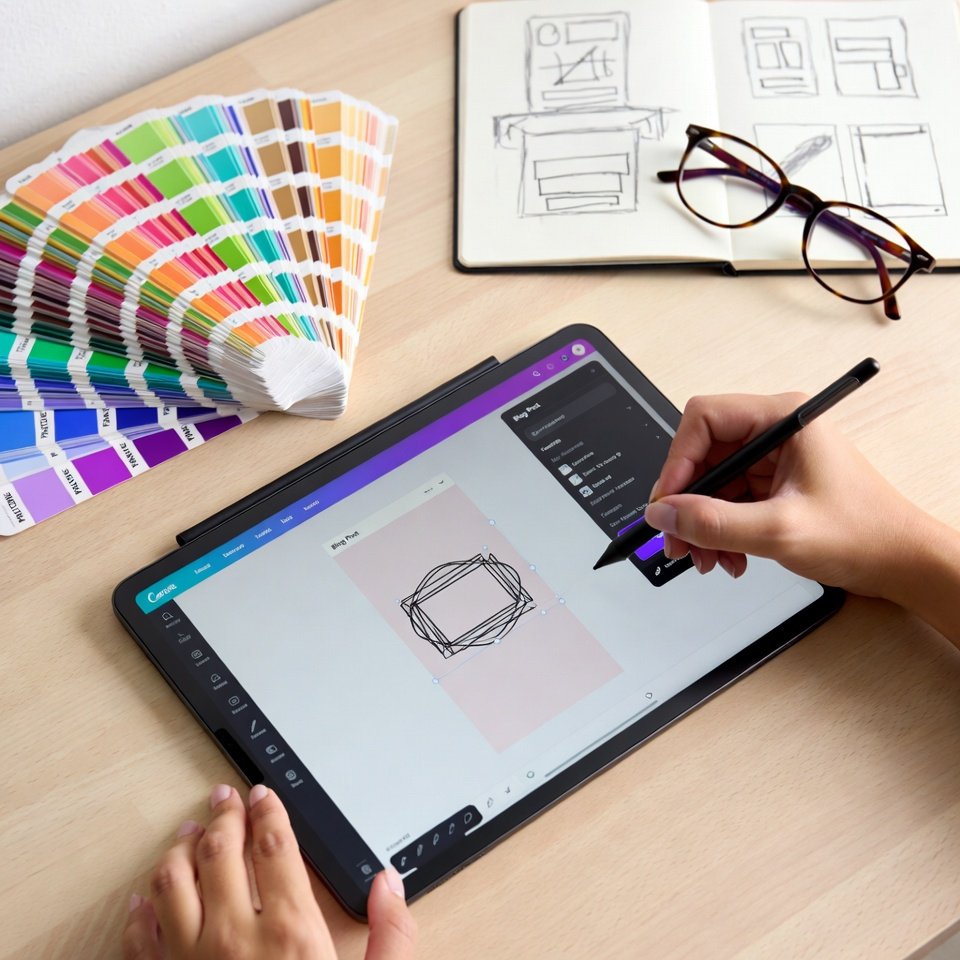
Step 4: Use Elements to Add Visual Interest
This is where you make the design “pop.”
- Frames: Search for “Frames” in the Elements tab. You can drag any photo into these frames to make them circular, arched, or shaped like a computer screen.
- Icons: Icons break down complex ideas. Writing about “ideas”? Search for a lightbulb icon. Writing about “money”? Search for a coin icon.
- Gradients: A subtle gradient background often looks more modern than a flat color.
Step 5: Exporting for Web Performance
A beautiful image is useless if it slows down your site. Large image files are the #1 cause of slow loading speeds, which hurts your Google rankings.
- Click Share > Download.
- File Type: Choose JPG for photos (smaller file size) or PNG for graphics with text/transparent backgrounds.
- Compression: If you have Canva Pro, lower the quality slider to 80%. If not, download the file and run it through a free tool like TinyPNG or Squoosh.app to reduce the file size without losing quality.
Advanced Strategy: The “Repurposing” Workflow

Smart bloggers work smarter, not harder. You shouldn’t just create one image for a blog post. You should create a “suite” of assets. Here is my workflow for every new post:
- The Featured Image (Landscape): I design this first using my main title. This goes at the top of the blog and is used for Facebook/Twitter shares.
- The Pinterest Pin (Vertical): I use Canva’s “Magic Resize” (Pro feature) or simply copy-paste my design into a new 1000×1500 canvas. I make the text huge and easy to read on mobile.
- The Instagram Story (Vertical): I take the key “takeaway” or quote from the article and turn it into a simple background graphic to share on Stories with a “Link in Bio” sticker.
By doing this, one piece of content fuels three different marketing channels.
Image SEO: Getting Your Graphics on Google
Designing the image is only half the battle. You need to tell Google what that image is about. Since Google bots can’t “see” images like humans do, they rely on text data.
1. Rename Your Files
Never, ever upload a file named IMG_5543.jpg or Untitled-Design.png.
- Bad:
screenshot1.jpg - Good:
how-to-design-blog-graphics-canva.jpg - Best:
canva-blog-graphics-tutorial-2026.jpg
Always include your target keyword in the filename, separated by hyphens.
2. Use Alt Text
“Alt text” (Alternative Text) is used by screen readers for the visually impaired, but it is also a major ranking factor for Google. Describe the image naturally while including your keyword.
- Example: “A screenshot of the Canva dashboard showing how to select a blog banner template.”
3. Use Next-Gen Formats (WebP)
If your website platform allows it (like WordPress), try to serve images in WebP format. It is a modern image format that provides superior compression for images on the web. Canva now allows you to download directly as WebP!
Common Beginner Mistakes to Avoid
I’ve reviewed hundreds of blogs, and these are the most common design errors I see:
- Too Much Text: Don’t try to put your entire introduction on the image. Just the title and a sub-header are enough.
- Hard-to-Read Fonts: Stay away from overly curly script fonts or “handwritten” styles that look messy on small mobile screens.
- Ignoring Margins: Don’t put text right at the edge of the image. Leave a “safety zone” around the borders.
- Inconsistent Branding: Don’t use a neon green header one week and a pastel pink one the next (unless that chaos is your brand).
Tools You Need: Free vs. Paid
Do you actually need to pay for Canva Pro? Let’s break it down.
Canva Free:
- Access to thousands of free photos and graphics.
- Basic editing tools.
- Perfect for beginners just starting their blog.
- Limitation: You can’t resize designs automatically, and many of the best icons/photos are watermarked.
Canva Pro (Paid):
- Magic Resize: Turn a blog post header into a Pinterest pin in one click.
- Background Remover: Instantly remove backgrounds from photos (amazing for product mockups).
- Brand Kit: Upload your custom fonts and logos so they are always one click away.
- Premium Content: Unlimited access to stock photos, videos, and audio.
My Verdict: Start with the free version. Once you are blogging consistently and possibly selling your own digital products or ebooks, the Pro subscription pays for itself in time saved.
Frequently Asked Questions (FAQ)
Q1: Can I use Canva images for commercial use?
Yes! You can use Canva’s photos and elements for your blog, social media, and marketing materials (including ebooks and courses). However, you cannot sell the standalone raw elements as your own stock photos.
Q2: What is the best font for blog graphics?
Clean, sans-serif fonts work best for digital screens. Try League Spartan, Montserrat, Open Sans, or Lato.
Q3: How do I make my text stand out on a busy photo?
You have three options:
- Lower the brightness of the background photo.
- Add a “Lift” or “Shadow” effect to the text (click “Effects” in the top bar).
- Place a solid colored shape behind the text.
Q4: Where can I get free photos if I don’t like Canva’s?
Check out sites like Unsplash, Pexels, or Pixabay for high-quality, royalty-free stock photography that you can upload into Canva.
Conclusion: Start Designing Today
Designing high-quality blog graphics doesn’t have to be overwhelming. You don’t need to be a creative genius; you just need a system.
With Canva, you have the power to create professional visuals in minutes that keep your readers glued to the screen. Remember, the goal isn’t perfection—it’s engagement. Start with a simple template, add your personal touch, and hit publish.
Your traffic, your bounce rate, and your future AdSense revenue will thank you.
🚀 Want to Fast-Track Your Success?
If you want to skip the design struggle and get straight to publishing, check out my Premium Canva Template Bundle.
It includes fully editable templates for blog headers, Pinterest pins, and social media posts designed specifically for creators who mean business. I’ve done the heavy lifting on the design theory so you can just drag, drop, and grow.
(And if you’re ready to take your content creation to the next level, don’t miss my guide on “Make Money with AI Tools” to learn how to speed up your workflow even further!)