How to Curve Text in Canva
Creating curved text in Canva can add a stylish and professional touch to your designs. Creating curved text in Canva is a simple process that can enhance the visual appeal of your designs, whether you’re working on a social media post, a logo, or a presentation. Here’s a step-by-step guide on how to curve text in Canva:
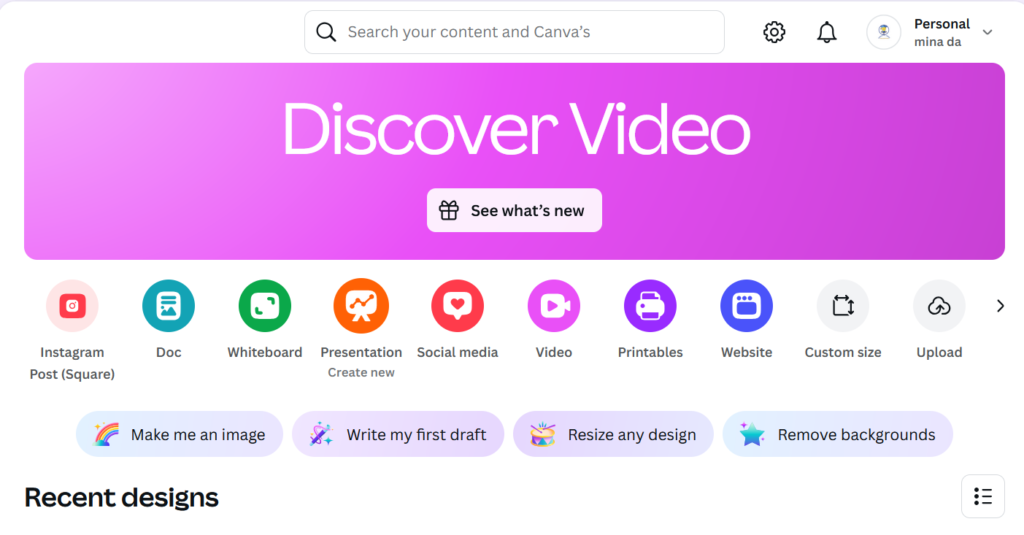
1. Open Canva and Create a New Design
First, log in to your Canva account. If you don’t have one, you can sign up for free. Once you’re logged in, click on the “Create a design” button and choose the dimensions for your project. For example, you could select “Instagram Post,” “Presentation,” or custom dimensions.
2. Add Text to Your Design
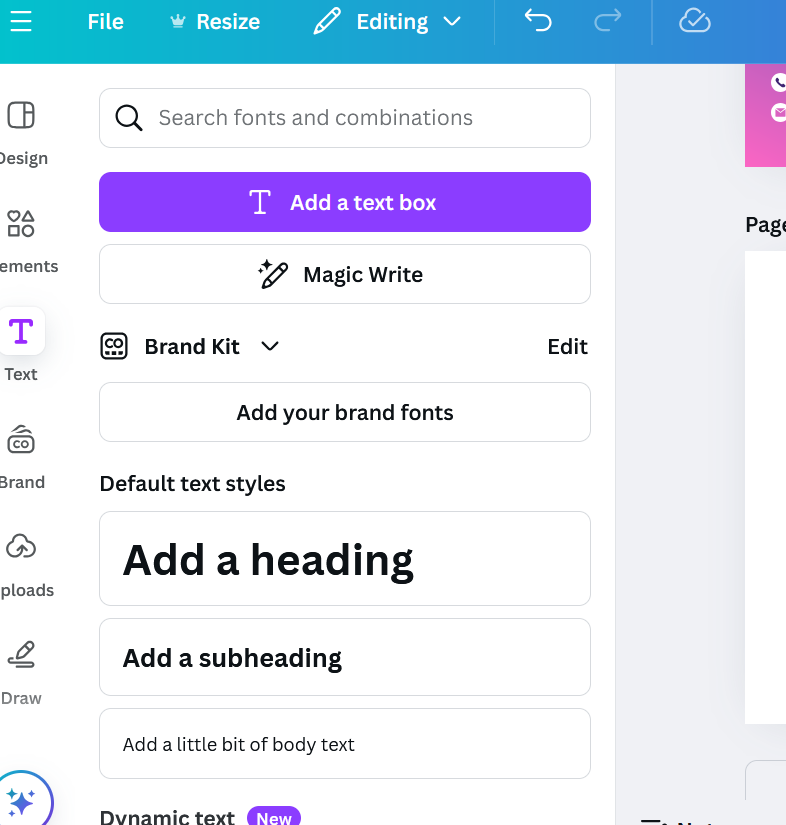
Next, click on the “Text” button on the left-hand menu. You can choose from a variety of text styles, or simply click “Add a heading,” “Add a subheading,” or “Add a little bit of body text.” Type your desired text in the text box that appears on your canvas.
3. Select the Text and Open the Effects Menu
Click on the text box to select it. Once selected, you’ll see a toolbar at the top of your screen. Click on the “Effects” button in this toolbar. This will open a menu with various text effects.
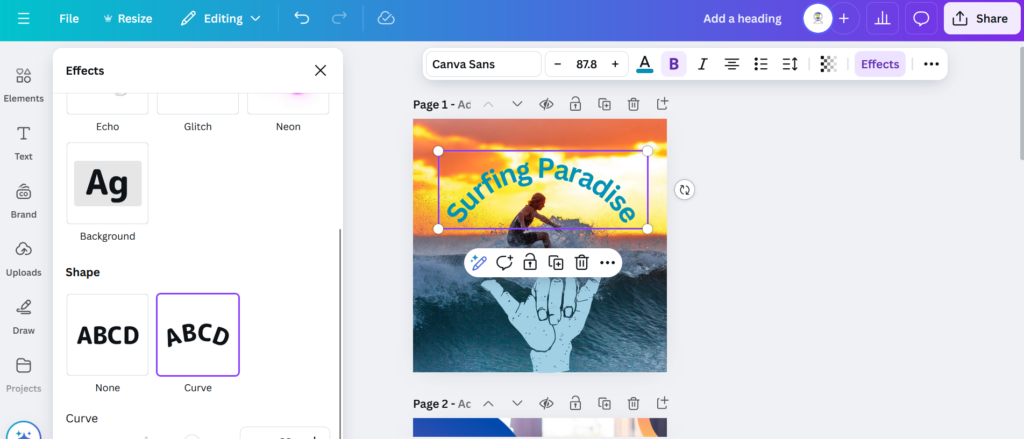
4. Apply the Curve Effect
In the “Effects” menu, scroll down until you see the “Curve” option. Click on it to apply the curve effect to your text. You’ll notice that the text automatically curves on your canvas.
5. Adjust the Curvature
After applying the curve effect, you’ll see a slider that allows you to adjust the curvature. Drag the slider to the right to increase the curve or to the left to decrease it. Experiment with the curvature until it looks just right for your design.
6. Customize Text Properties
While the text is still selected, you can further customize it using the toolbar at the top of the screen. Change the font style, size, color, and alignment to match your design preferences. Canva offers a wide range of fonts and text customization options to choose from.
7. Position the Curved Text
Once you’re satisfied with the appearance of your curved text, you can move it around your canvas to find the perfect spot. Click and drag the text box to position it. You can also use the alignment tools to center it or align it with other elements in your design.
8. Add Additional Design Elements
To enhance your design, consider adding other elements like shapes, images, or graphics. Canva’s extensive library of design elements can help you create a cohesive and visually appealing layout. Simply click on the “Elements” button on the left-hand menu and browse through the available options.
9. Save and Download Your Design

Once you’ve completed your design, click the “Download” button at the top right corner of the screen. Choose your preferred file format (e.g., PNG, JPG, PDF) and download your design to your computer.
Tips for Using Curved Text Effectively
- Consistency: Ensure that the curved text matches the overall style and theme of your design. Consistent use of fonts, colors, and design elements will create a cohesive look.
- Legibility: Make sure your curved text remains easy to read. Avoid excessive curvature that distorts the letters and choose a font size that is large enough to be legible.
- Balance: Balance your design by placing curved text in a way that complements other elements on the canvas. Avoid clutter and leave sufficient space between elements.
- Experimentation: Don’t be afraid to experiment with different curvature levels and text placements. Canva allows you to easily undo changes, so you can try multiple variations before settling on the final design.
Conclusion
Curving text in Canva is a straightforward process that can significantly enhance your designs. By following these steps, you can add a touch of creativity and professionalism to your projects. Remember to experiment with different curvature settings and design elements to achieve the perfect look. Canva’s user-friendly interface and extensive customization options make it easy to create stunning designs with curved text.