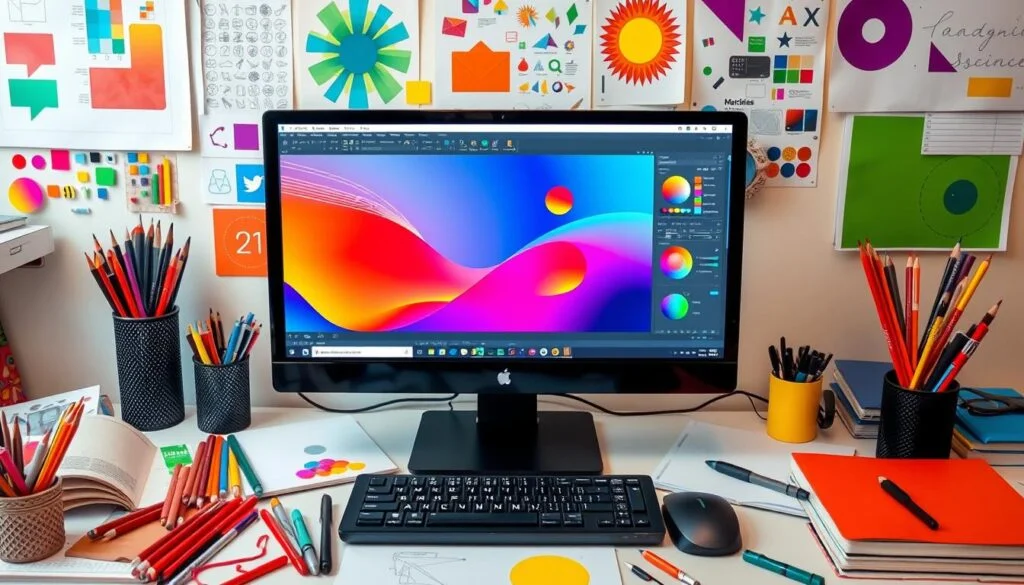
How to Use Canva to Create Stunning Blog Graphics
In the fast-paced world of blogging, visuals play a crucial role in attracting and retaining readers. Whether you’re a seasoned blogger or just starting out, Canva is one of the most powerful tools for creating eye-catching blog graphics. With its intuitive interface, vast library of templates, and design flexibility, Canva can help you craft professional-looking graphics without any prior design experience.
In this guide, we’ll walk you through how to use Canva to create stunning blog graphics that will boost engagement, improve readability, and enhance your brand identity.



Why Blog Graphics Matter
Before diving into Canva, it’s essential to understand why blog graphics are important:
- Enhances Readability – Large blocks of text can be overwhelming. Well-placed visuals break up content and make it more digestible.
- Boosts Engagement – Readers are more likely to share, like, and comment on visually appealing content.
- Improves SEO – Well-optimized images with proper alt text can improve search rankings.
- Strengthens Branding – Consistent colors, fonts, and styles help create a recognizable brand identity.
Step-by-Step Guide to Creating Blog Graphics in Canva
Step 1: Sign Up and Choose the Right Plan
Canva offers a free plan with basic features and a Pro plan with advanced tools like premium fonts, background remover, and brand kits. If you’re just starting, the free plan is sufficient, but upgrading to Canva Pro can unlock more customization options.
Step 2: Select the Right Canvas Size
The dimensions of your graphics matter. Here are some common blog graphic sizes:
- Blog Header: 1200 x 628 px (Facebook share-friendly)
- Pinterest Image: 1000 x 1500 px (Ideal for pinning blog posts)
- Social Media Graphics: 1080 x 1080 px (Instagram), 1200 x 630 px (Facebook)
- Infographics: 800 x 2000 px (Tall, engaging format)
To create a design in Canva:
- Go to Canva.com and log in.
- Click on “Create a Design” and choose Custom Size or select a pre-made template.
Step 3: Choose a Template or Start from Scratch

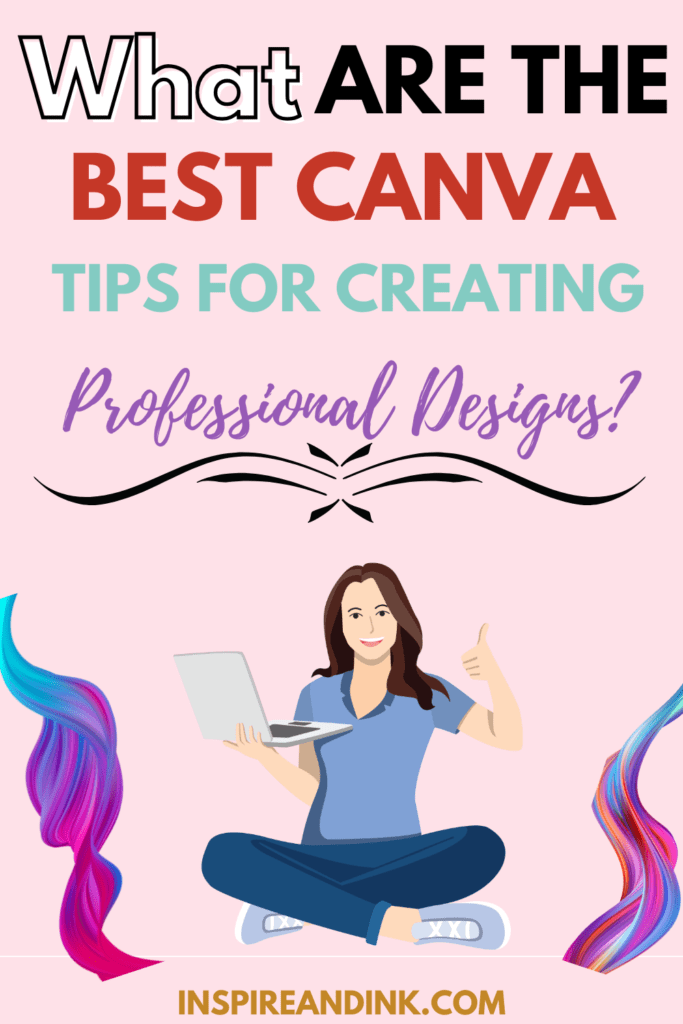
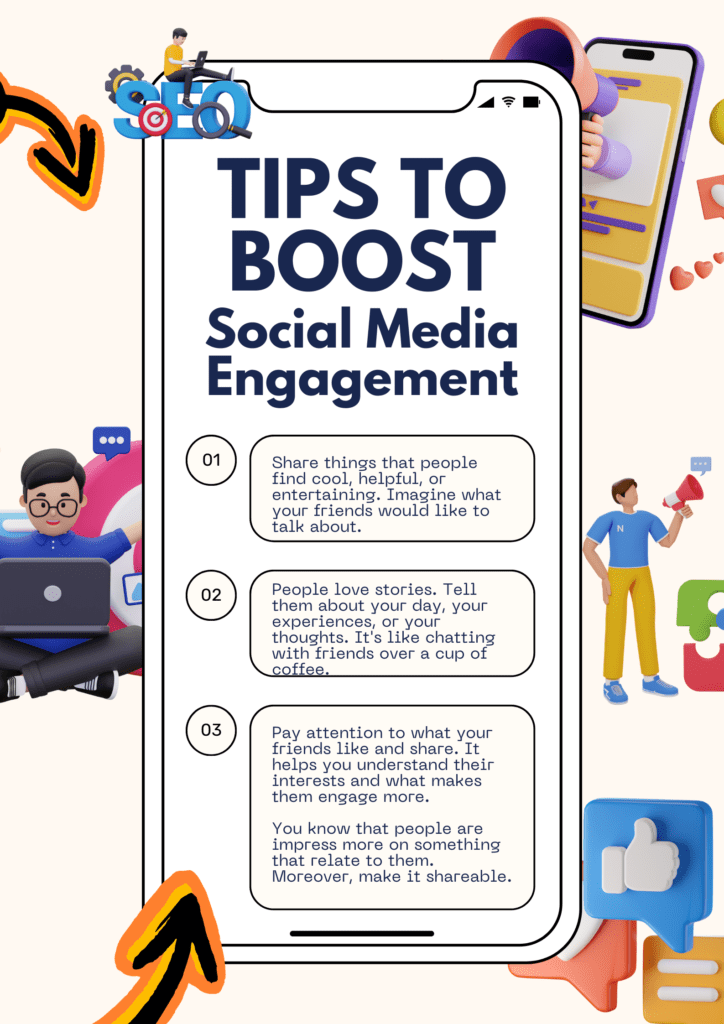
Canva provides thousands of blog graphic templates that you can easily customize.
- To browse templates, use the search bar and enter keywords like “blog post,” “Pinterest graphic,” or “infographic.”
- Choose a template that aligns with your brand aesthetics and niche.
- If you prefer a unique design, start with a blank canvas and add elements manually.
Step 4: Customize Your Design
Now comes the fun part—customizing your design! Here’s how to make your blog graphics stand out:
1. Select a Color Scheme
Your colors should match your brand identity. Canva Pro allows you to create and save brand color palettes, but even free users can manually adjust colors.
- Use warm colors (red, orange) for urgency and excitement.
- Use cool colors (blue, green) for a calming effect.
- Keep contrast in mind for readability (e.g., dark text on a light background).
2. Pick the Right Font Combinations
Typography plays a huge role in visual appeal. Some font-pairing tips:
- Sans-serif fonts (like Montserrat, Open Sans) are modern and clean.
- Serif fonts (like Playfair Display, Merriweather) give a classic, elegant look.
- Use bold fonts for headlines and lighter fonts for subtext.
Canva provides pre-made font pairings to simplify the process.
3. Add High-Quality Images & Icons
Images can make or break a design. Use:
- Canva’s free stock photos (search in the “Photos” tab)
- Upload your own images for branding consistency
- Icons from the “Elements” tab to enhance the visual appeal
For a cohesive look, apply filters, brightness adjustments, or overlays.
4. Incorporate Shapes & Backgrounds
- Use geometric shapes to highlight text or create visual hierarchy.
- Select gradients or textured backgrounds to add depth to your design.
Step 5: Add Branding Elements
Branding is key for making your blog graphics recognizable. Ensure your designs have:
- Your logo (place it subtly in a corner)
- Brand colors and fonts
- A consistent design style across all images
If you’re on Canva Pro, use the Brand Kit feature to store all branding elements.
Step 6: Export and Optimize Your Graphics
Once you’re satisfied with your design, click “Download” and choose the right format:
- PNG – Best for high-quality images
- JPG – Suitable for smaller file sizes
- PDF – If creating a printable resource
- SVG – For scalable graphics (Pro feature)
Step 7: SEO-Optimise Your Images
To ensure your blog graphics contribute to SEO, follow these steps:
- Rename Your Image Files – Instead of “Canva-graphic.png,” use descriptive filenames like “best-blog-graphics-canva.png.”
- Use Alt Text – This helps Google understand the image content and improves accessibility.
- Compress Images – Use tools like TinyPNG to reduce file size without compromising quality, helping with faster page load times.
Bonus Tips for Stunning Blog Graphics
- Keep It Simple – Avoid cluttered designs. Less is more.
- Use White Space – Give elements room to breathe.
- Maintain Consistency – Use similar styles across all blog graphics.
- A/B Test Your Graphics – Experiment with different designs to see what works best for your audience.
Final Thoughts
Canva is an incredible tool for bloggers who want to create stunning graphics effortlessly. By following these steps, you can design visuals that not only enhance your blog’s aesthetics but also boost engagement, improve SEO, and strengthen branding. Whether you’re making blog headers, Pinterest graphics, or infographics, Canva offers all the tools you need to create eye-catching visuals.
Now, it’s your turn! Start designing your next blog graphic with Canva and watch your blog stand out in the crowded digital space.

